JOURNAL
documenting
&
discovering joyful things

Lessons from the summer garden

I have been waiting for the weather to cool.
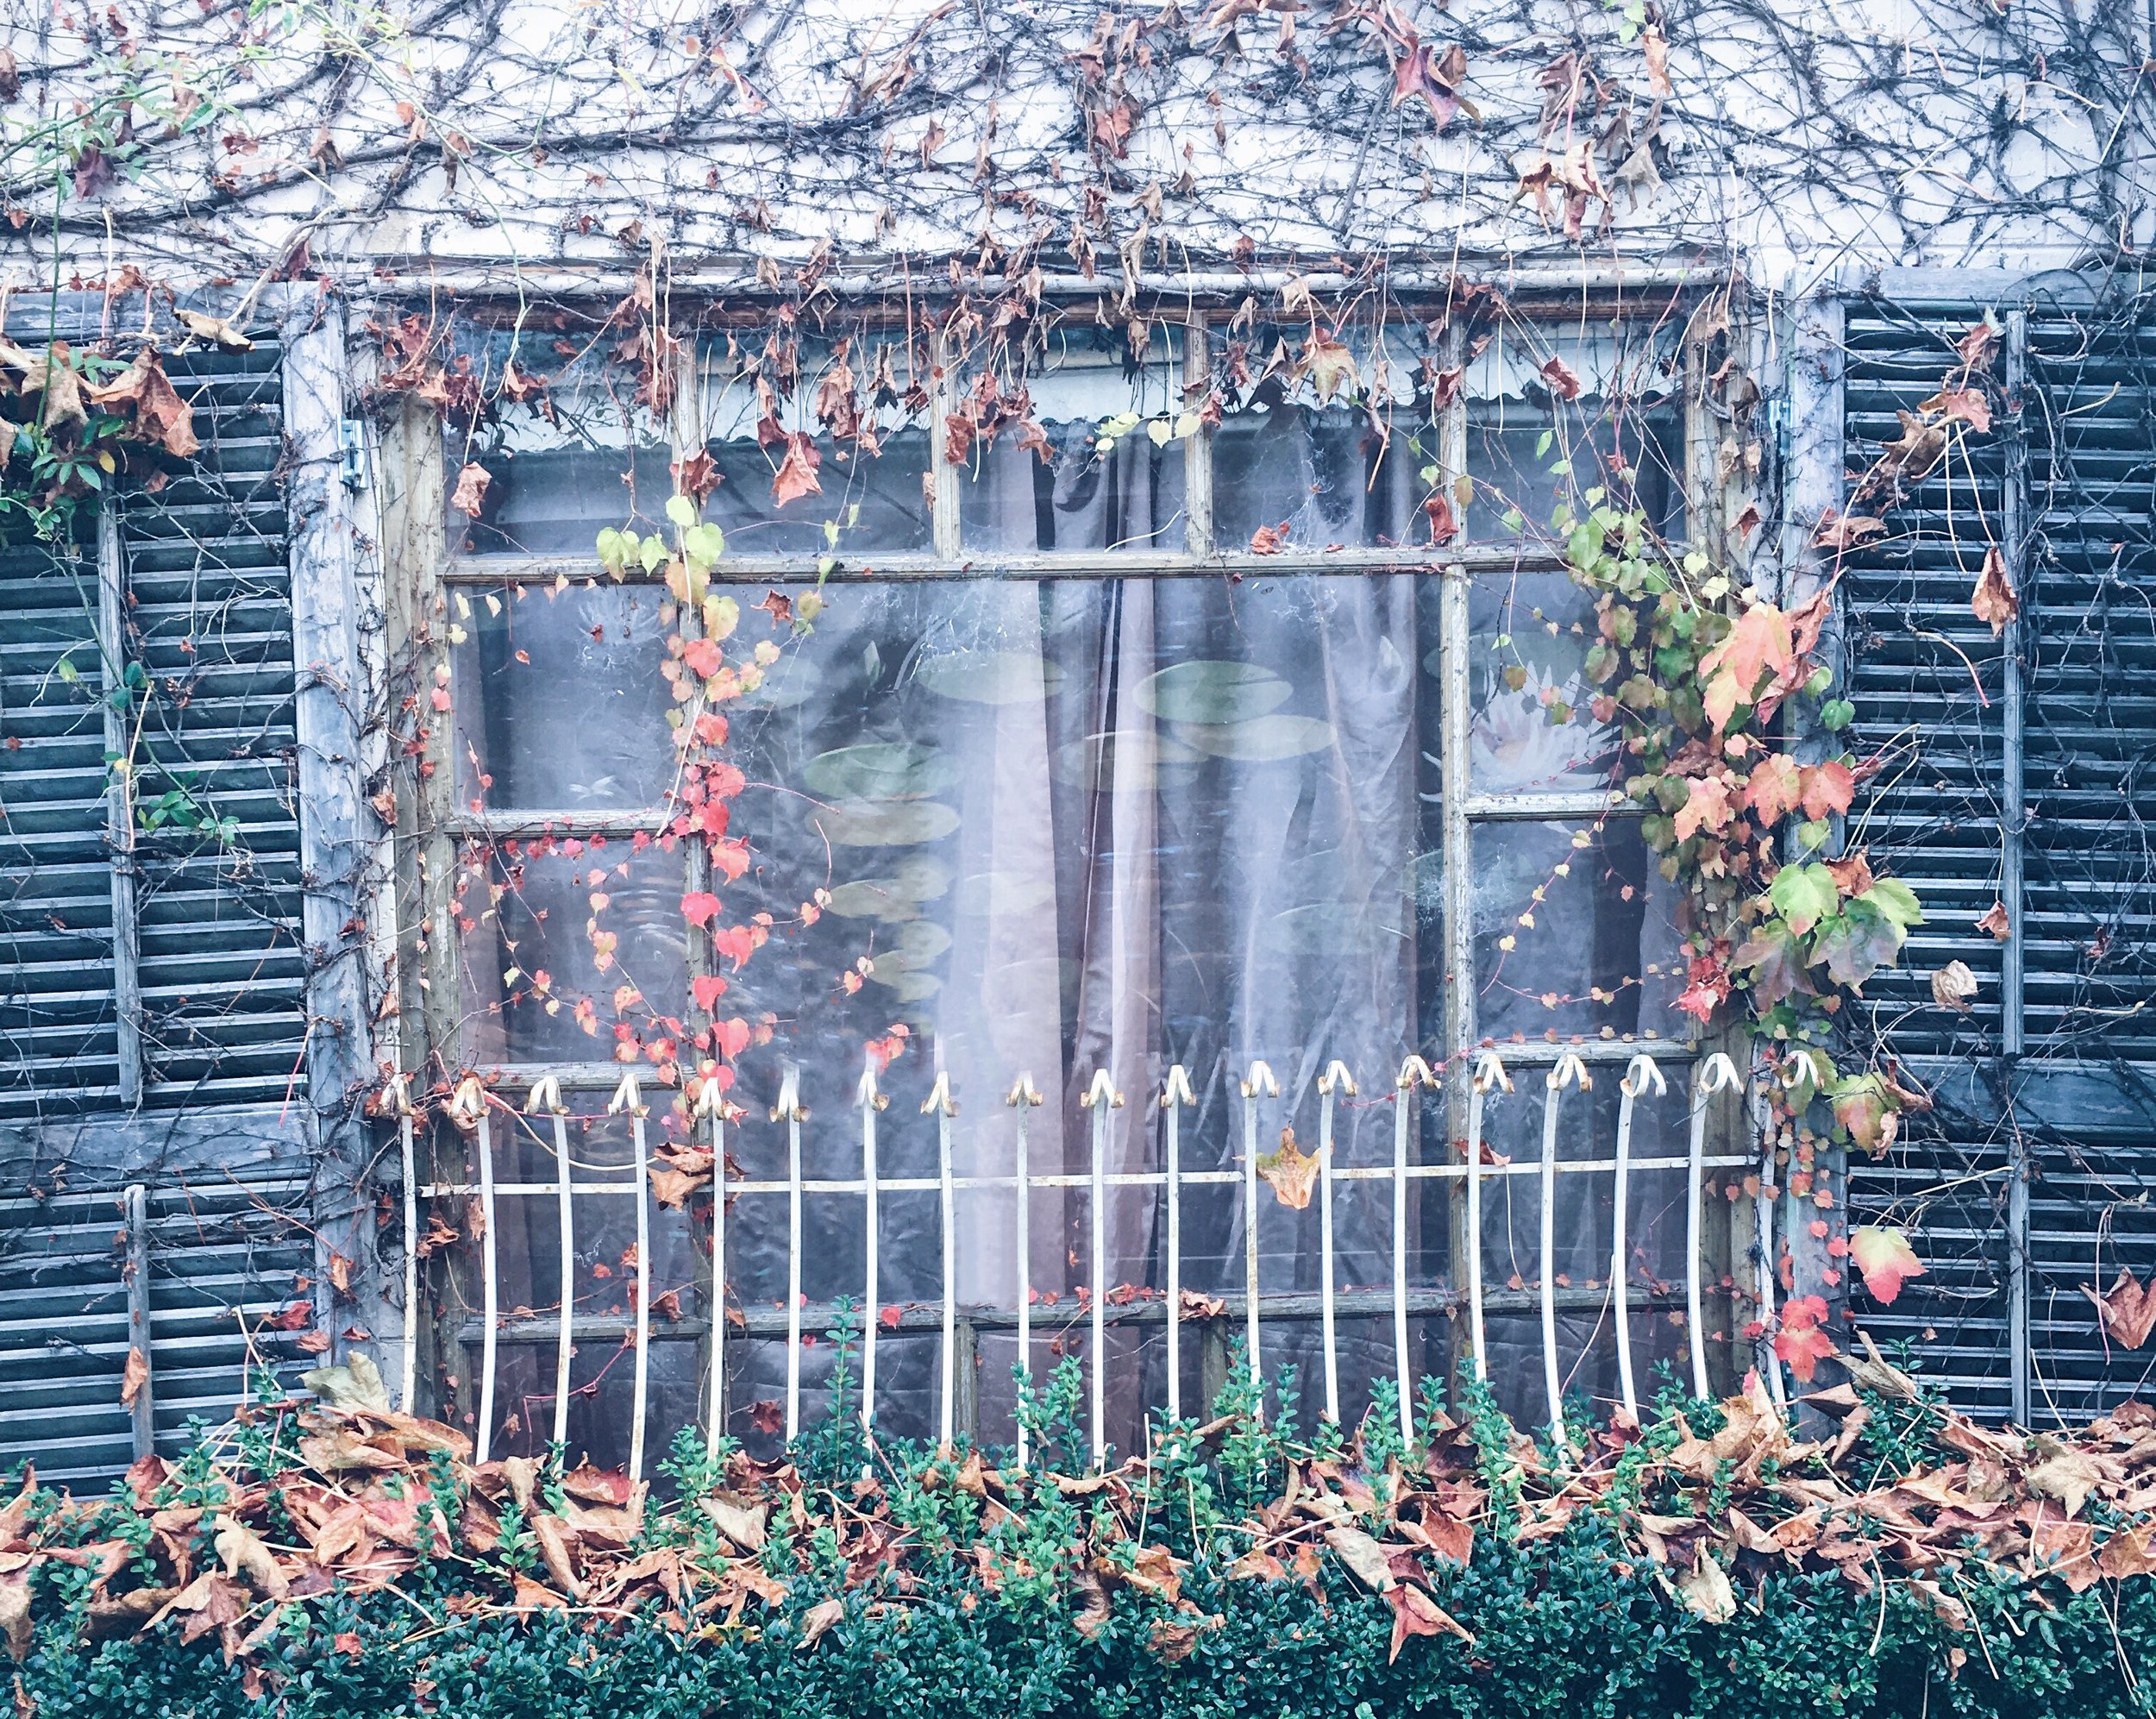
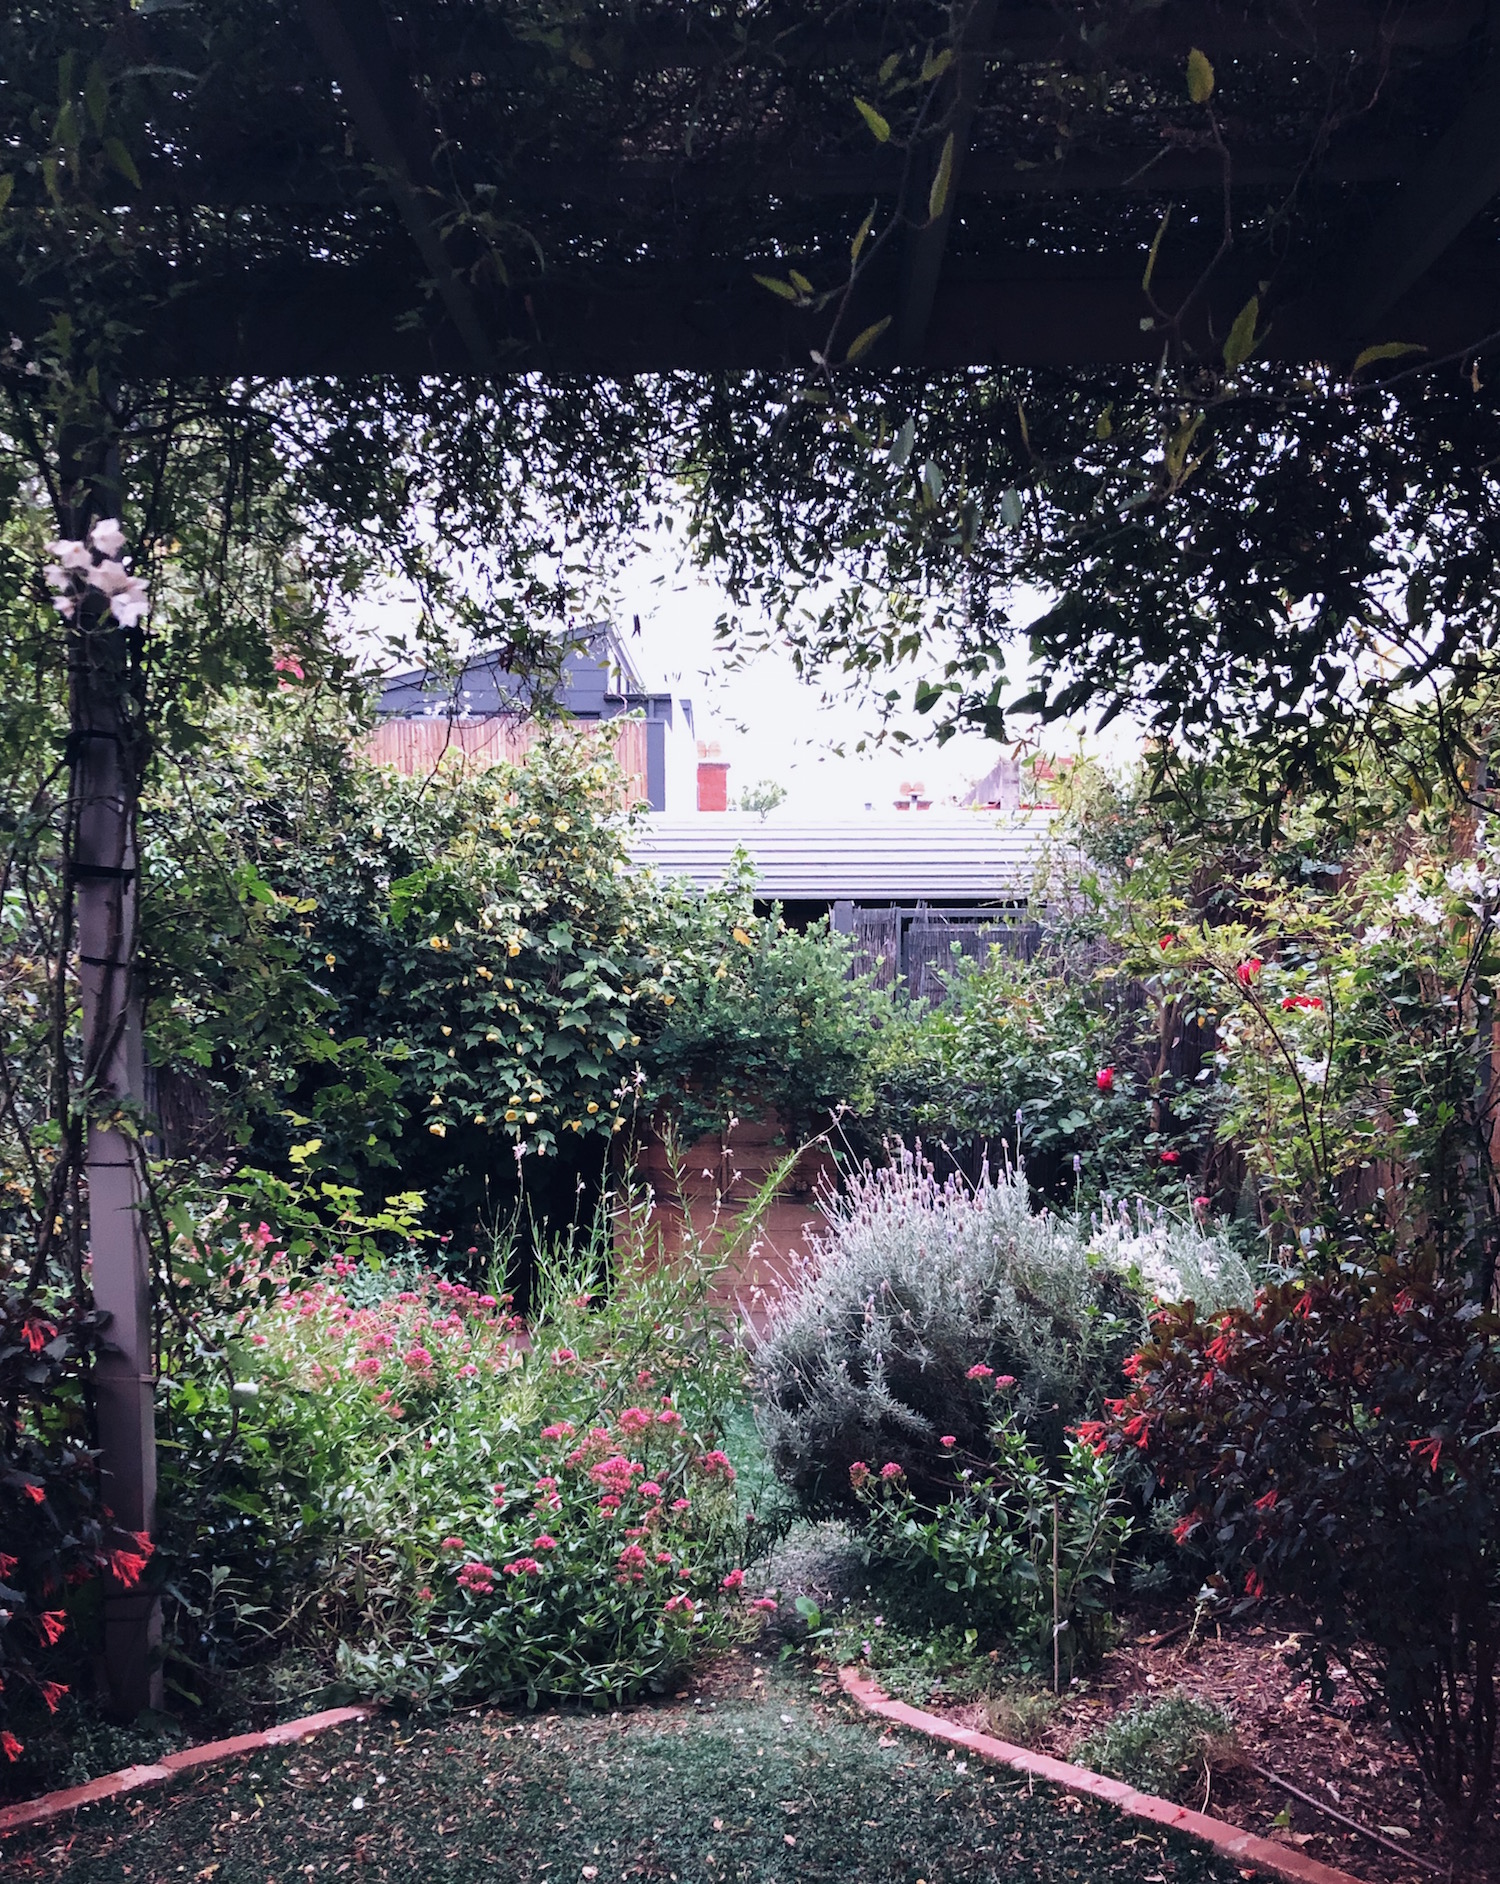
The summer’s evening we returned home from France, I stood in my little garden in the shocking humidity, and took these pictures. It was a jungle. Abundant and overgrown, some plants thriving and other plants choking, and I made plans to gently nurture it back to life. My very own Secret Garden.
I made a start, cutting back the valerian and unwinding the clematis so the other plants could breathe. There was no saving the blueberry bush, one of the hydrangeas or two of the camellias. Two out of three of the Japanese maples were looking decidedly sad.
But I still held out hope for the roses, the pomegranate, and my favourite oak-leaf hydrangea, and the honeysuckle was so healthy it had all-but swallowed the children’s cubby house whole.


But instead of making it better, I only made things worse. Clearing away the overgrown vines left my space-starved plants vulnerable when the heat came - and come it did, less than a week later, in waves of day after day with temperatures in the late 30s and early 40s, Celsius.
No amount of water can keep alive a plant that is being literally burned from the sky. One of my happily-blooming fuchsias was the first to go. At the end of one particularly long, hot day (long after dark it was still 36 degrees), every leaf had turned brown. When I cupped the leaves in my hand, they fell from the stems and crumbled to dust.
The little Jack Frost plants soon followed suit, and most of the Japanese windflowers. Soon my gardenias were looking sad, the oak-leaf hydrangea crisped at all the edges, and the leaves began dropping off the Japanese maple.
None of the border plants survived, and brown began to swallow green.
The poets of ancient Jerusalem wrote, “To everything there is a season.” (Or were they quoting Pete Seeger?) And nowhere is that more evident than in an actual garden, where the seasons govern, and human intervention can only go so far in changing or mitigating what nature intends.
One of the things I noticed about the public flower gardens in France was that in spring and summer, they were more beautiful than anything you could imagine: full of shocking, extravagant colour like a fragrant, bee-filled rainbow explosion. But when autumn came and the seed-heads drooped, gardeners cut everything back, aerated the ground, and let it rest for the cooler months. It wasn’t pretty: brown patches of earth with the odd leftover strand of sad annual eking out the last of its days.
We don’t tend to do that in Australia. We plant and tend for year-round cover, and seek colour in every season. I know I’ve tried this in my own little garden, filling those brown patches as best I can in winter so we only look out on green.
But respecting the season means working with nature, rather than fighting it.
Those plants in my garden shouldn’t have been left to smother one another but, once it was done, I should have known better than to strip things bare right when the worst of the heat was about to begin. And I had known it would begin: January and February where I live are the hottest months of the year.
But I was impatient, eager to reconnect with my home by putting my hands in the earth, and I wouldn’t wait. In many parts of Europe, brown and grey are the colours of winter. I made them the colour of Melbourne in summer, too.
Gardens teach us patience, if we will let them. To everything there is a season. There is a season for brown, and a season for colour. A season for hot, and a season for cold.
A season for abundance, and a season for rest.
My friend Brenner and I send one another voice-messages most days, little audio missives that carry with them the ambience of our respective worlds. In mine, while soaring temperatures burn everything around me and sting my eyelashes, there is a heartbreaking crunch of dry things underfoot as I walk and talk. In Brenner’s messages, sent to me from her home in tropical far-north Queensland, I hear frogs and cicadas, and the soft and ever-present sound of rain. Up there, these seasons aren’t spring-summer-autumn-winter. They are known as the wet season, and the dry.
Nature comes back.
Even my burnt plants will re-shoot leaves. And if they don’t, others will clamber over and take their place.
So I will wait. When the weather cools, I will replant but, when winter comes, I will allow my garden to rest. To lie fallow, the way nature intended. It’s ok, I will remind it, to be brown.
Come spring, I hope I can bring you a rainbow.


Botanical project: leaf skeletons (non toxic)

Whenever I discover a leaf skeleton in the garden it feels like a little piece of magic. Rare good luck, like finding a four leaf clover or seeing a double rainbow. The circumstances for nature to create a leaf skeleton have to be just right: damp enough for the fleshy parts of the leaf to decompose, sheltered enough (probably under other leaves) to encourage microscopic organisms to eat away at those leaves, and somehow exposed at just the right time for me to find the leaf while all those lovely veins are still in place, before it breaks or blows away.
I love to send leaf skeletons as gifts in my mail. They are something special, precious, a memento from my garden or a walk I've taken that is tinted with enchantment. But because they are so hard to find, I wanted to learn how to help nature along, and make my own leaf skeletons. Turns out there are several ways to do it, following processes that range from a couple of hours to a couple of weeks, and using everything from water and pantry ingredients to caustic substances requiring rubber gloves and goggles, and straight-up bleach.
I have tried three of the non-toxic methods, and am here to share them with you today.
Step 1: Pick & prepare the leaves
No matter what method you use, some steps to making leaf skeletons are always the same:
Choose your leaves: for best results, choose leaves that have a strong vein system. Tougher, more waxy leaves have better results than softer, younger leaves
Clean the leaves: gently rinse them in a bowl of water, and wipe any dirt or mud away with a soft cloth. If the dirt is stubborn, use an old toothbrush to (gently) scrape it away
Step 2: Choose your method
How you choose to make your leaf skeletons will depend on the time you have available, the materials you have in the cupboard, and how willing you are to work with potentially caustic substances. Here are the pros and cons of the three methods I'm sharing today. If you click on any of the methods below, you'll jump straight to the relevant instructions.
Pros:
* Completely safe
* Nature's method
* Gentle on leaves
Cons:
* Takes several weeks
* Gets gross and smelly
Pros:
* Completely safe
* Easy to find ingredients
* Relatively fast results
Cons:
* Can be rough on leaves
Pros:
* Supposedly faster
* The Internet loves this method (lots of tutorials)
Cons:
* Dangerously caustic
* Hard to find ingredients
* Can be rough on leaves
Step 3: Make your leaf skeletons
a) Water method
Take a shallow dish (like a baking dish) and fill it with water. The dish should be ceramic or glass, not metal (I don't know why. Maybe it's to avoid rust, or has something to do with the minerals or chemicals in metal?). Place the leaves in the dish (it's ok if they're on top of each other) and weigh them down with something heavy to ensure they stay covered with water.
Leave the water to sit for between three and four weeks. It will get murky, and start to smell really bad (like a vase when you've left cut flowers in it for too long).
Take one leaf out of the murky water, place it on a flat surface, and gently try to brush away the gunk and membrane from the leaf. Use an old toothbrush (softly), or a paint brush if you're worried the toothbrush will break the leaf. If it's too tough, put the leaf back into the water and give it a few more days to soak.
Rinse the leaf in clean water. If necessary, continue brushing away any remaining pieces of the pulp while it's in the water. Once you're done, lay it on a paper towel to dry.
b) Bicarb soda & baking powder method
Dissolve equal parts bicarbonate soda and baking powder in a saucepan of water. I used one tablespoon of each, and approximately a litre of water.
Place your leaves into the pot, and bring it to the boil. Reduce to a simmer, stirring it gently from time to time. The water will froth up, and will get brown and murky.
Watch the leaves until they have softened, and you think they are ready to clean away. This could take several hours (I was using hardenbergia leaves and it took about an hour and a half). If necessary, top up the water from time to time to ensure they leaves remain covered.
Take the leaves out of the saucepan and place them into a shallow tray of clean water. Using and old toothbrush, gently try to brush away the gunk and membrane from one leaf at a time. If the leaf is too fragile, use a paint brush instead of a toothbrush.
Once you're done, lay the leaf on a paper towel to dry.
c) Washing soda method
Note: washing soda is not the same as baking soda. Washing soda is sodium carbonate: it's a powerful cleaner and non-toxic, but is highly caustic and definitely not edible. Wear gloves and goggles while working with it, and try not to inhale any dust that might float up when you stir.
In a saucepan, dissolve 3/4 cup of washing soda in about one litre of water.
Place your leaves into the pot, and bring it to the boil. Reduce to a simmer, stirring it gently from time to time. The water will froth up, and will get brown and murky.
Watch the leaves until they have softened, and you think they are ready to clean away. This could take several hours (for some reason the camellia leaves I was using took forever - like about six hours - but general consensus on the Internet is up to two hours). If necessary, top up the water from time to time to ensure they leaves remain covered.
Take the leaves out of the saucepan and place them into a shallow tray of clean water. Using and old toothbrush, gently try to brush away the gunk and membrane from one leaf at a time. If the leaf is too fragile, use a paint brush instead of a toothbrush.
Once you're done, lay the leaf on a paper towel to dry.
How to make washing soda
If you can't find washing soda at the shops, try this easy at-home process.
Pre-heat your oven to 200C (400F). Spread two cups of baking soda evenly on a large baking tray, and place it in the hot oven for about half an hour. You'll know the transformation has happened when you look at the powder: washing soda is more grainy and dull than baking soda, and when you stir things around (not with you fingers!) you'll see it doesn't clump together. If you're not sure, grab some baking soda and put the two side by side, to see if they look different.
Step 4: Press the leaves
Leave cleaned leaf skeletons in a warm, sheltered place to dry for approximately one hour.
Once you are sure the leaf is completely dry, place it between two paper towels and store it under a heavy book until you are ready to use it.
Step 5: Decorate
I prefer to leave the leaf skeletons their natural colour, but you can absolutely play with other decorative ideas if you wish. After all the pulp has been removed but before you dry and press the leaf skeleton, you could place it in bleach to whiten it, or in food colouring. Alternatively, once dried and pressed, you could carefully paint the leaf skeleton (metallics look really great!).
That's it! If you decide to make these, let me know how you go. I'd love to see how they turned out, and learn what you think of the process.
ps. I've been working on a little video to show people how to make leaf skeletons using Method 2 (the baking powder and bicarbonate soda method), as part of a "botanical crafts" course I'm developing. The video is not finished yet but, in the meantime, I've created a printable tutorial using screen-grabs from the video to give you a more visual step-by-step guide, if you think that will help. You can download that tutorial here:

The Most Beautiful Letter You Have Ever Written
Come join me and a host of gentle, creative, like-minded people in my five-week letter-writing and mail-art course, delivered entirely online. This course is all about creativity, personal connections, and spreading joy to others through the old-fashioned postal service. Learn more or join in here.